Oracle Application Express (Oracle APEX) is one of the world’s most popular enterprise low-code application platforms. While you can run it on-premises, the easiest and most cost-effective way to learn and build is by create an Oracle Cloud Free Tier Account.
The first step to accessing these powerful tools is to create an oracle account. This guide will walk you through the entire process—from signing up for the cloud service to provisioning your first Autonomous Database and logging into your APEX workspace.
Create an Oracle Cloud Account for Free APEX
Why Oracle Cloud?
Unlike many other cloud providers that offer a 12-month trial, Oracle offers an “Always Free” tier. This includes:
- Two Oracle Autonomous Databases (which include APEX).
- Two AMD Compute VMs.
- Up to 4 ARM Ampere Compute VMs.
- 200 GB of Block Storage.
To access these resources forever without paying a cent, you simply need to create an oracle account and set up your environment correctly.
Part 1: Prerequisites of Free Oracle Cloud Infrastructure (OCI) Account
Before you start the process to create an Oracle Cloud Infrastructure (OCI) account, ensure you have the following items ready. The sign-up page has a timer for security reasons, so being prepared helps:
- Email Address: An email you have access to immediately (for verification).
- Phone Number: For SMS identity verification.
- Credit/Debit Card: Required for identity verification.
- Note: You might see a small temporary charge (e.g., $1 or $0) to verify the card is valid, but it is reversed automatically. You will not be charged for the Free Tier services.
Part 2: How to Create an Oracle Cloud Infrastructure Account (Free Tier)
Follow these specific steps to create an Oracle Cloud Infrastructure (OCI) account that includes the “Always Free” cloud benefits.
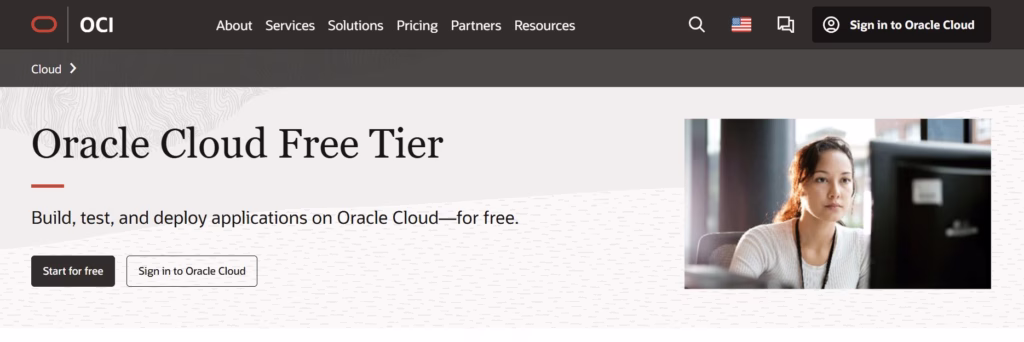
1. Start the Sign-Up
Navigate to the Oracle Cloud Free Tier Sign-up Page. Click the button that says Start for Free.
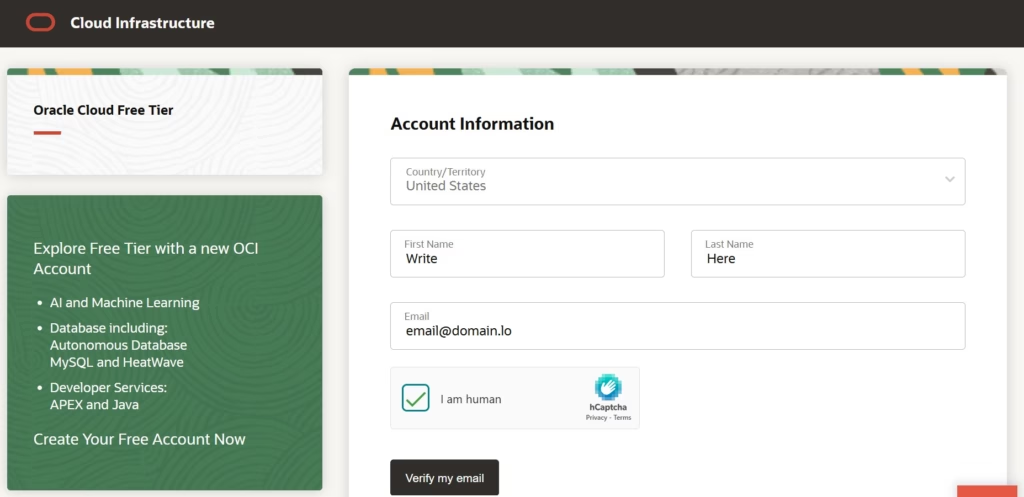
2. Account Information
Enter your Country/Territory, First Name, Last Name, and Email Address.
- Tip: Ensure the country matches the billing address of the credit card you plan to use later in the process.
Click Verify My Email. Go to your inbox, open the email from Oracle, and click the verification link to proceed.
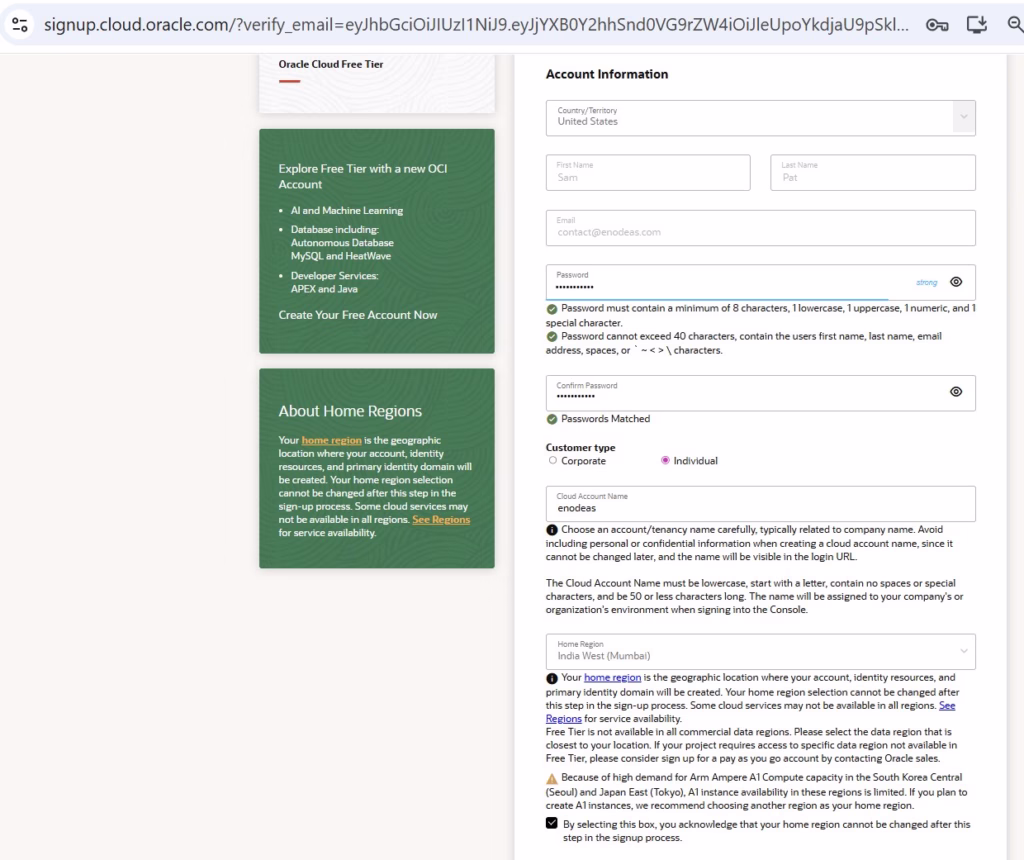
3. Create Cloud Account Details & Home Region
This is the most critical step when you create an oracle account for cloud usage.
- Password: Create a strong password.
- Cloud Account Name: This is your “Tenancy” name. Pick something professional (e.g., johndoeapps or mycompanydev). You generally cannot change this later.
- Home Region: Select the data center closest to you or your users (e.g., US East Ashburn, UK London, India West Mumbai).
- ⚠️ Crucial Warning: You cannot change your Home Region after you create an oracle account. Your Always Free resources (like the Autonomous Database) are primarily available in this region.
4. Address & Phone Verification
- Fill in your address details.
- Enter your mobile number and complete the SMS verification code process.
5. Payment Verification for Creating Cloud Account
Click Add Payment Verification Method.
- Enter your credit/debit card details.
- Acknowledge that you are signing up for a Free Tier account.
- Complete the transaction verification.
Once verified, click Start My Free Trial. Oracle will now provision your account. This usually takes between 1 minute to 15 minutes. You will receive an email when your account is fully active.
Part 3: Provisioning the Autonomous Database (APEX)
Once you have successfully finished the steps to create an oracle account, check your email for the “Welcome to Oracle Cloud” message and log in to the OCI Console.
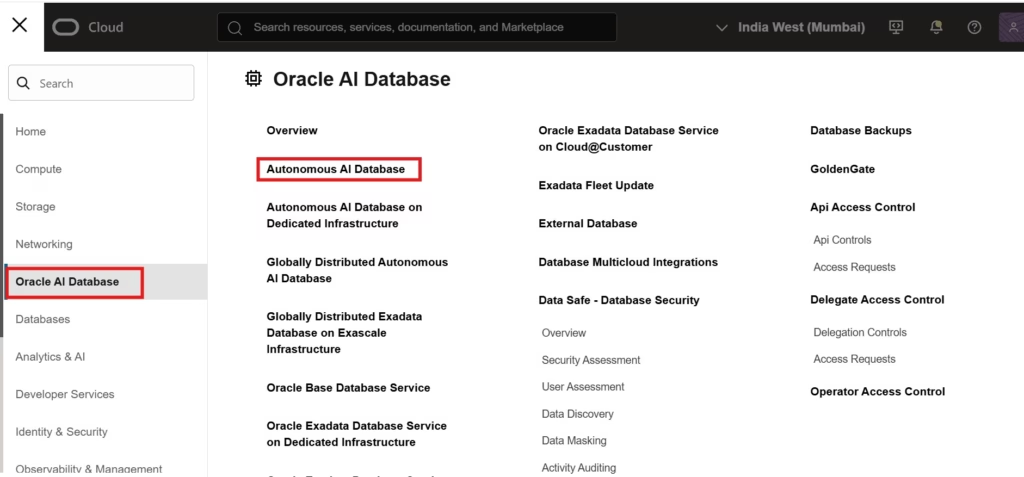
1. Navigate to Autonomous Database
- Click the Hamburger Menu (top left corner).
- Select Oracle Database.
- Click Autonomous Database.
2. Create the Database
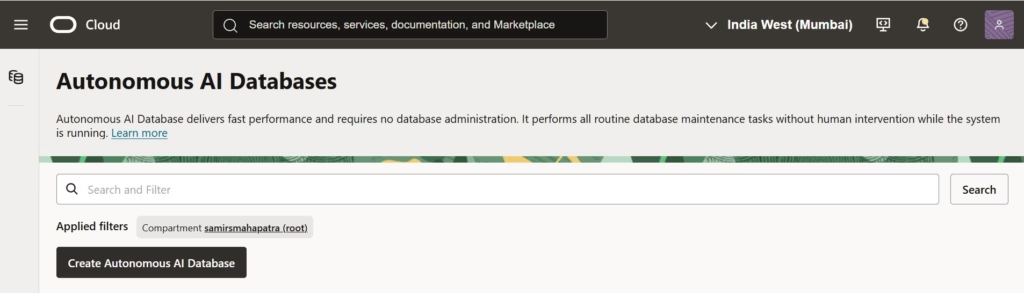
Click the Create Autonomous Database button. Fill in the form as follows:
- Compartment: Leave as default (root) or select your preferred compartment.
- Display Name: Give it a friendly name (e.g., MyAPEXDB).
- Database Name: Use a simple name (alphanumeric, no spaces).
- Workload Type: Select Transaction Processing (This is the standard for most APEX applications).
- Deployment Type: Select Serverless.
3. The “Always Free” Toggle
Scroll down to the configuration section.
- Check the box labeled “Always Free”.
- This will automatically lock the CPU count to 1 and Storage to 20GB, ensuring you never get a bill for this instance.
4. Admin Credentials
- Create a password for the ADMIN user.
- Write this down. You will need it to configure APEX workspaces later.
5. Access Type
- Select Secure Access from Everywhere (This allows you to access APEX from your home internet).
Click Create Autonomous Database at the bottom. The icon will turn Orange (Provisioning) and then Green (Available) within a few minutes.
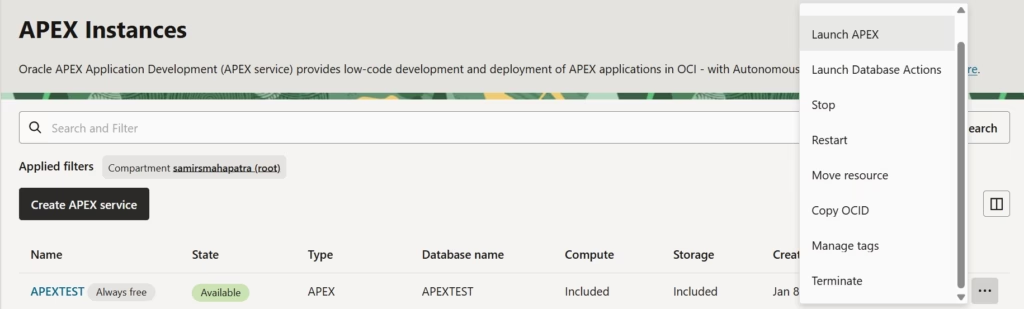
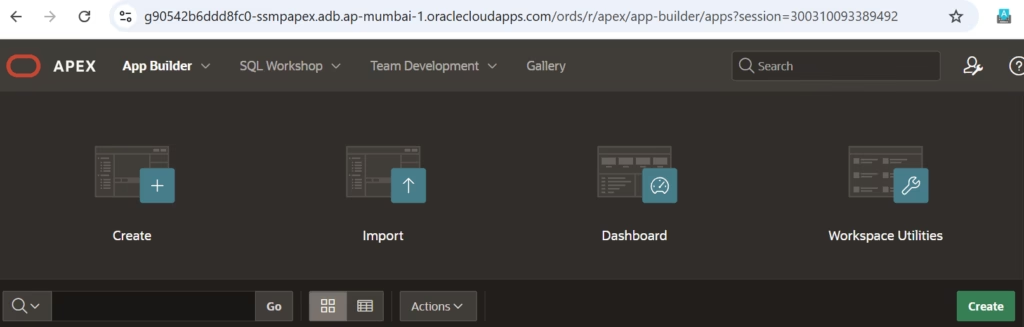
Part 4: Accessing APEX & Creating a Workspace
Now that the database is running, you need to set up the APEX environment.
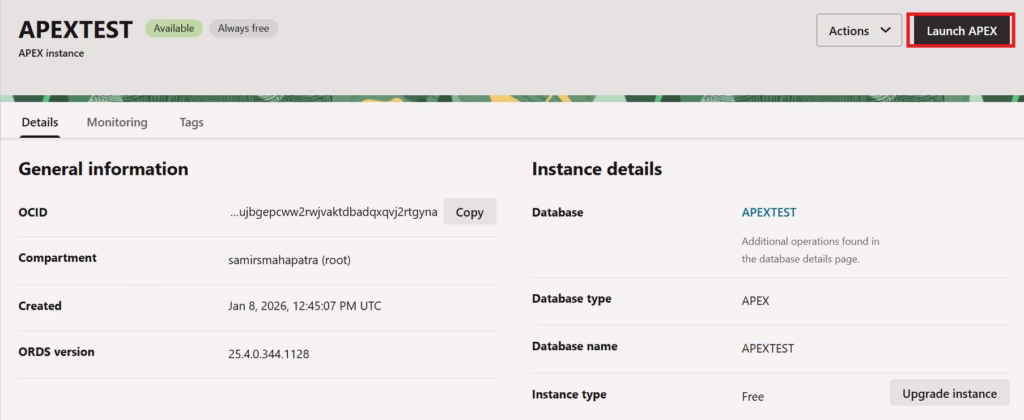
- Click on the name of your new database (e.g., MyAPEXDB) to open the details page.
- Click the Tool Configuration tab (or look for the Database Actions button).
- Look for the Oracle APEX URL or link. Click it.
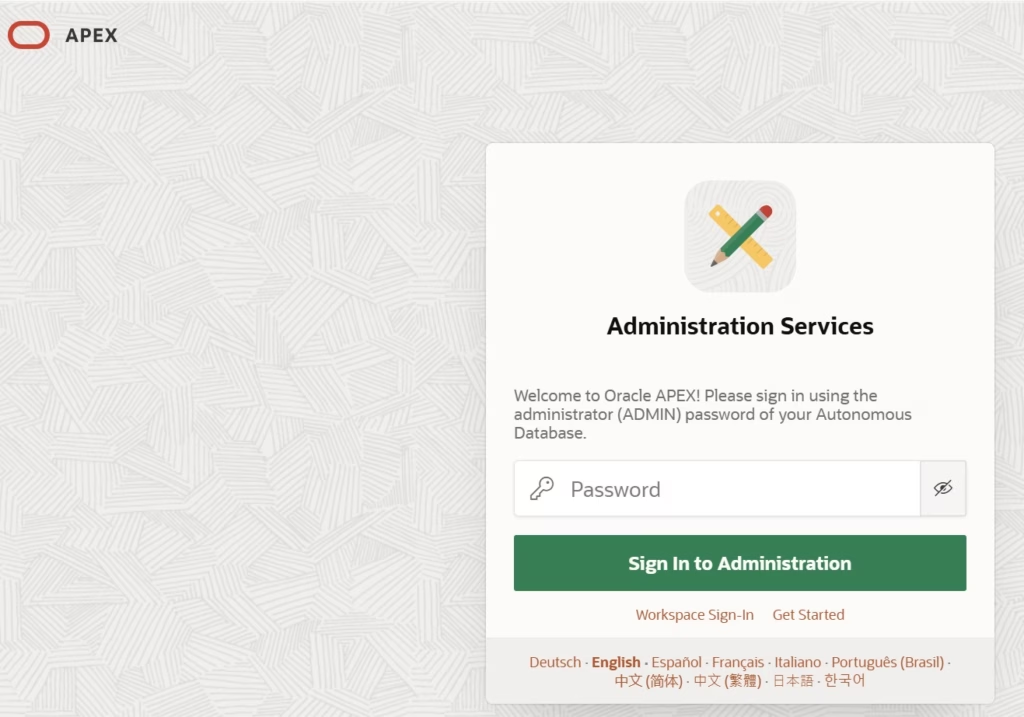
Logging into Administration Services
You will be taken to the APEX Administration login page.
- Username: ADMIN
- Password: The password you created in Part 3, Step 4.
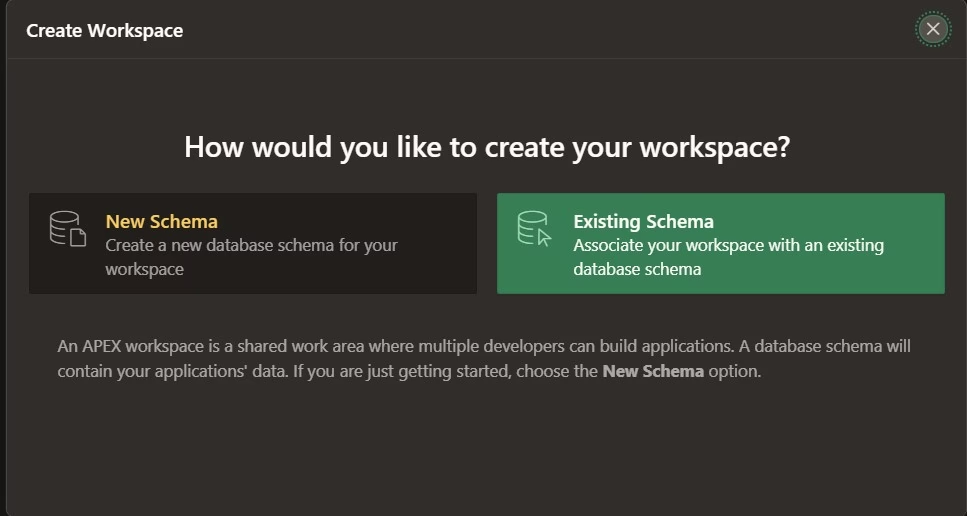
Creating Your Workspace
Since this is a fresh install, you need a “Workspace” (a container for your apps).
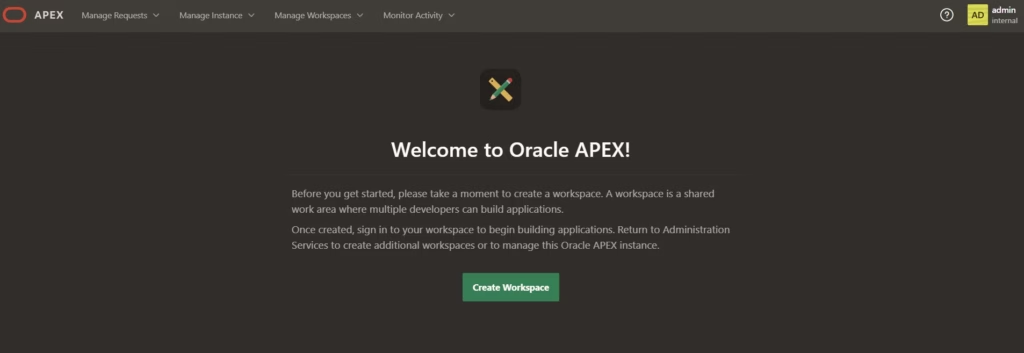
- Click Create Workspace.
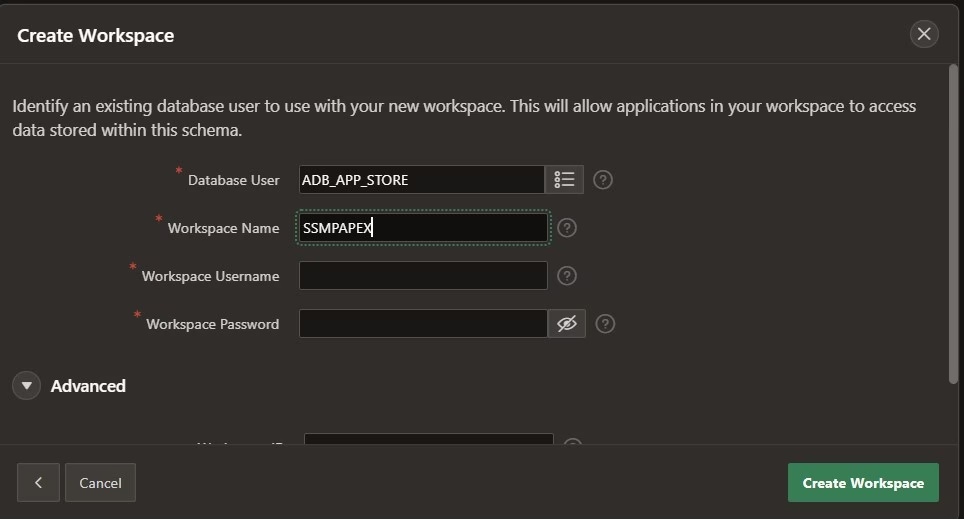
- Database User: Enter a name for the schema (e.g., DEV_USER).
- Password: Create a password for this user.
- Workspace Name: Enter a name (e.g., MY_WORKSPACE).
- Click Create Workspace.
Once created, click the link to sign out of Administration Services and sign in to your new Workspace.
Conclusion
Congratulations! You have successfully learned how to create an oracle account and provision a fully managed, enterprise-grade Oracle APEX environment running in the cloud for free. You are ready to create enterprise applications and REST API using APEX now.
Next Steps:
- Install the “Sample Applications” from the APEX Gallery to see what the platform can do.
- Bookmark your APEX Workspace URL so you don’t have to log in via the Oracle Cloud Console every time.